Yikes! I haven’t updated my blog in months! These past couple of months have been CRAZY with travel, a family wedding, and oh yeah….we moved from San Francisco to Los Angeles. This cross-California move brings me to the topic of my next post: transporting your precious boob juice from point A to point B.
Confession: I’m a bit of a breast milk hoarder. I mean, pumping is WORK, so I best not be waisting that sh*t! I’ve tried to donate my extra milk, but because I had taken fenugreek to keep my supply up I was unfortunately denied as a donor. So, I have a fairly large stash of breast milk in the freezer.
Driving down to LA usually takes about 6 hours. Add a 10 month old to the mix (diaper changes and feeding stops), and you’re looking at tacking on about an extra two to three hours to the drive. Sigh. Figuring out how to safely move all my breast milk safely down to LA was probably one of my top priorities. Here’s what we did….
Step 1: Find some dry ice. You can typically find dry ice at party novelty shops. Or if you live in the Bay Area, check out Ben’s Dry Ice. These people are awesome! They deliver the dry ice to your house and they are super helpful in figuring out how much you need to buy. Be sure to get blocks of dry ice and dry ice pellets.
Step 2: Get some ice chests. You can use those coleman-style ice chests, but those can cost you about $50! Instead, look on Craigslist for anyone giving away heavy-duty styrofoam ice coolers for free. With so many people subscribing to services like Blue Apron, it shouldn’t be too difficult to find them. [Heads up: Don’t get those cheapo, flimsy styrofoam ice boxes – the ones you need should be about 3/4 inch think.]
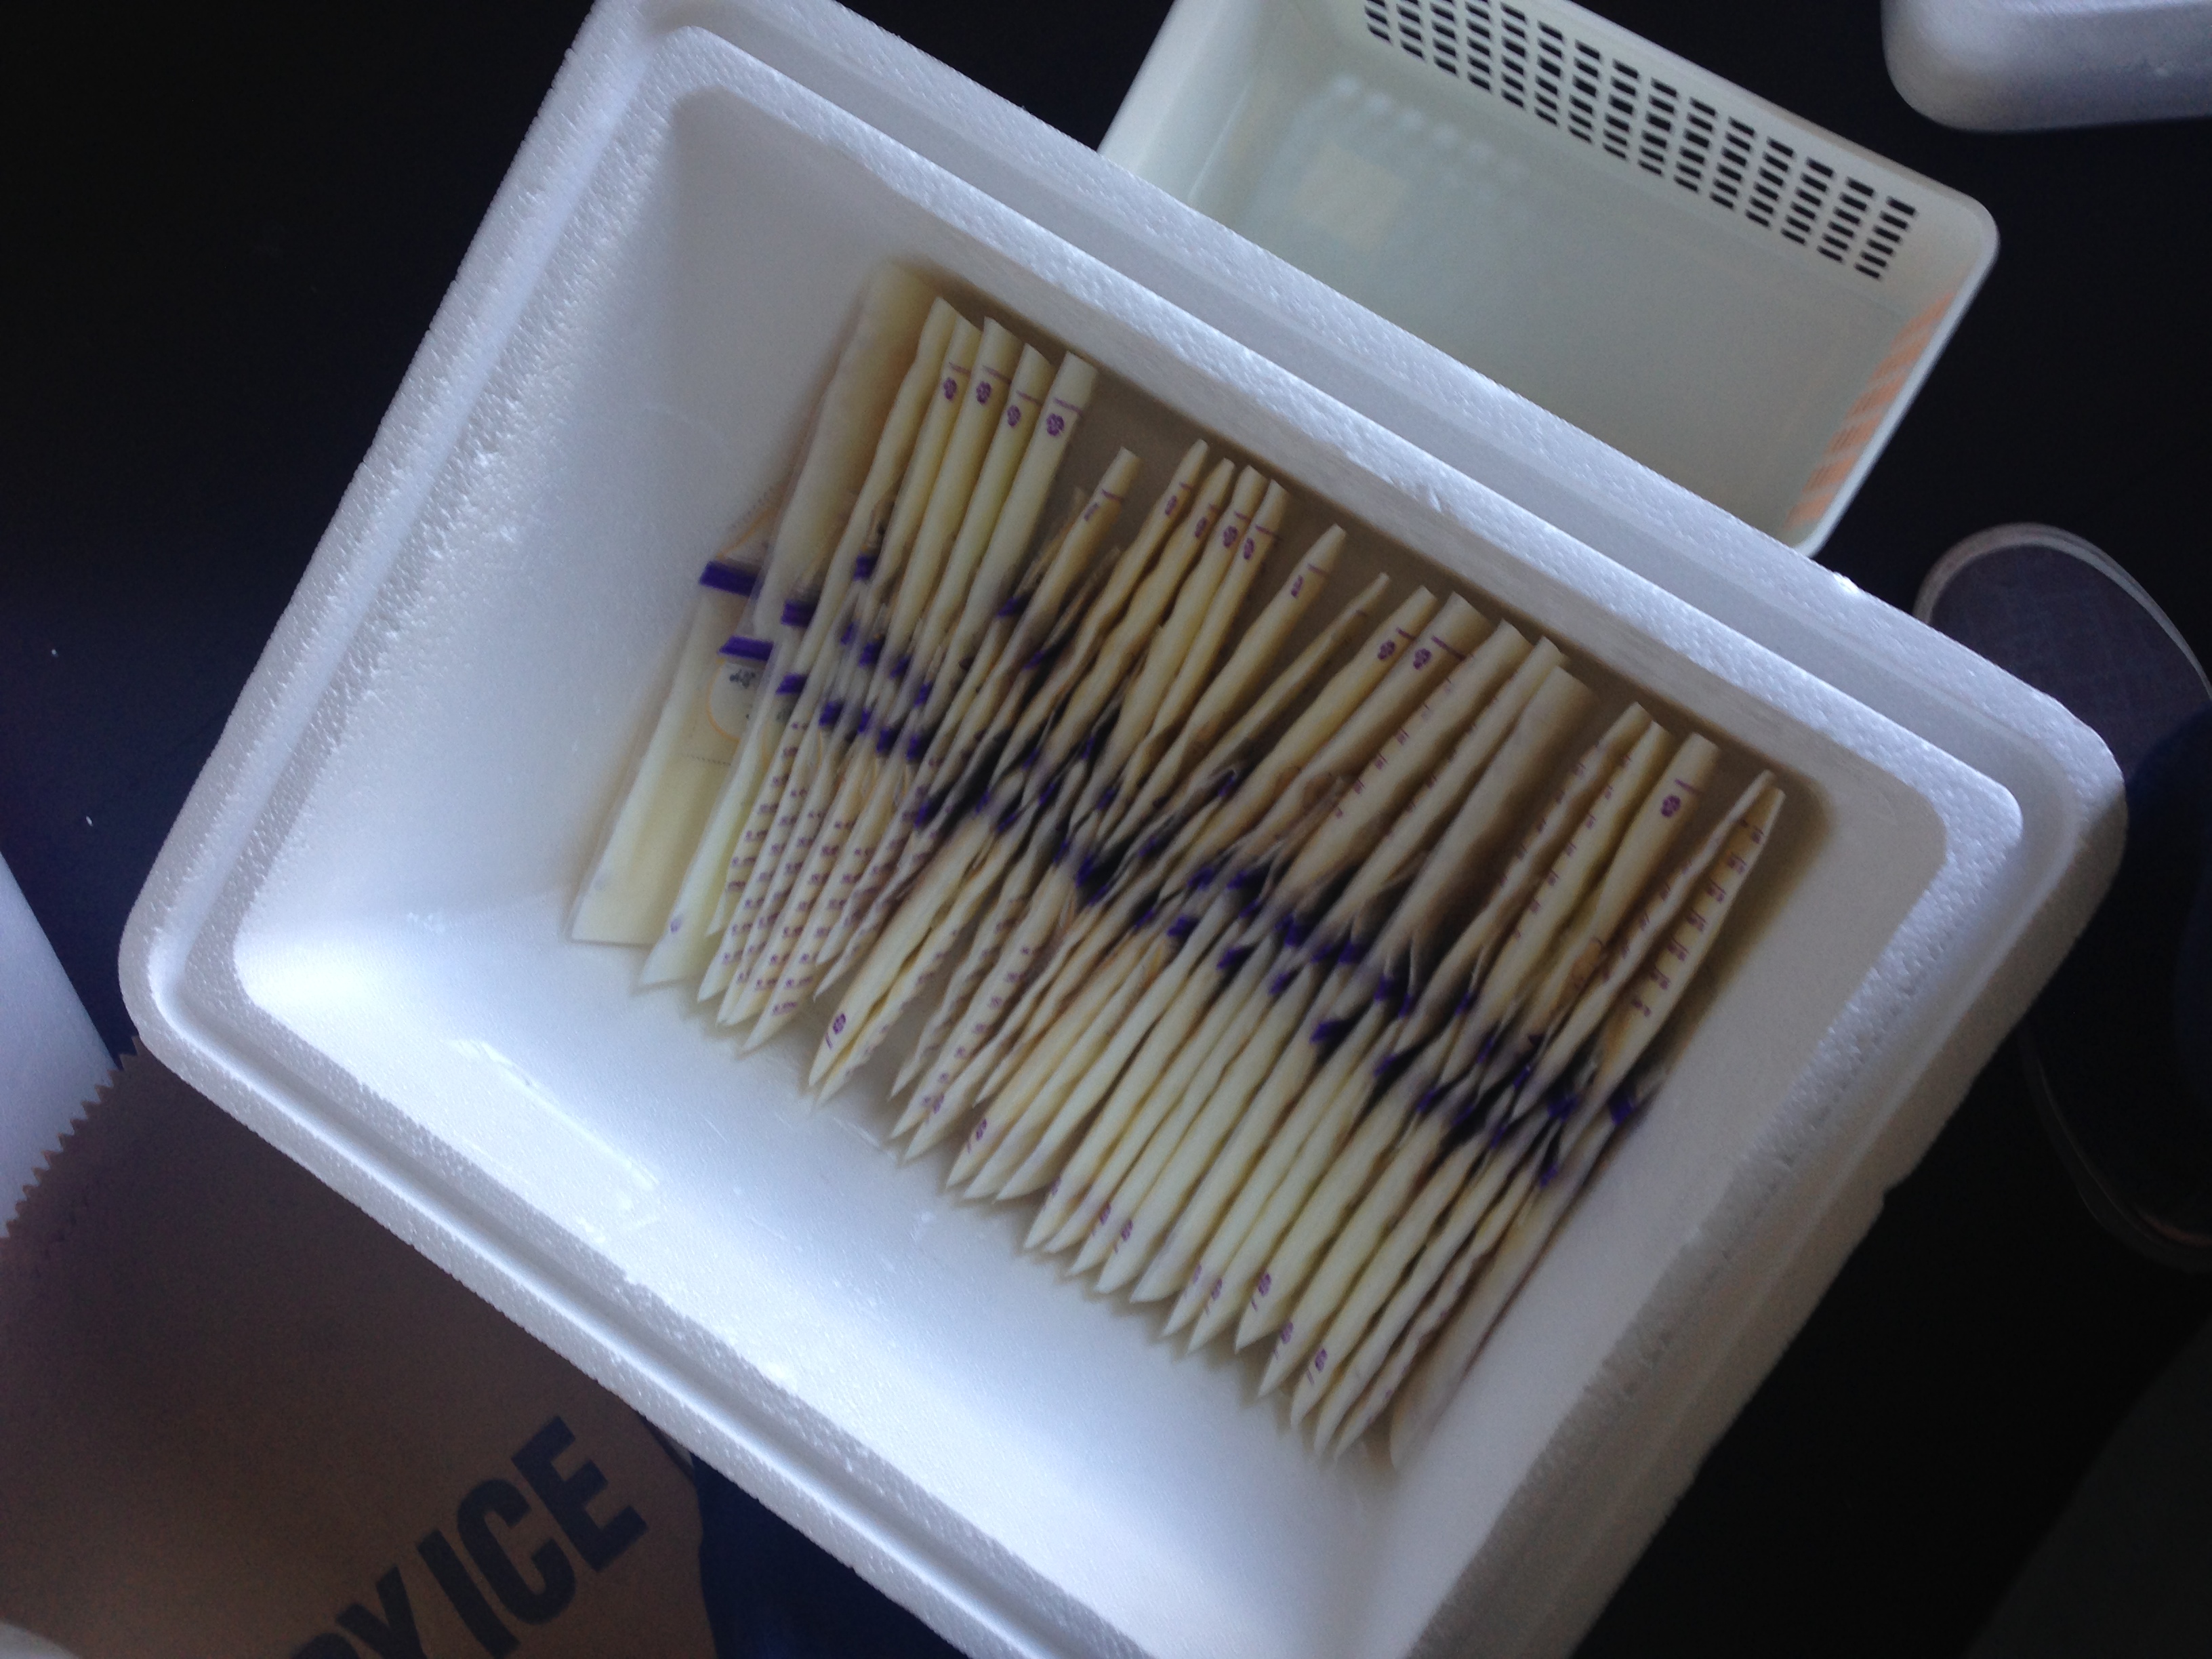
Step 3: Now you’re ready to pack your ice boxes! Put a layer of frozen milk on the bottom. I lined them up like this:
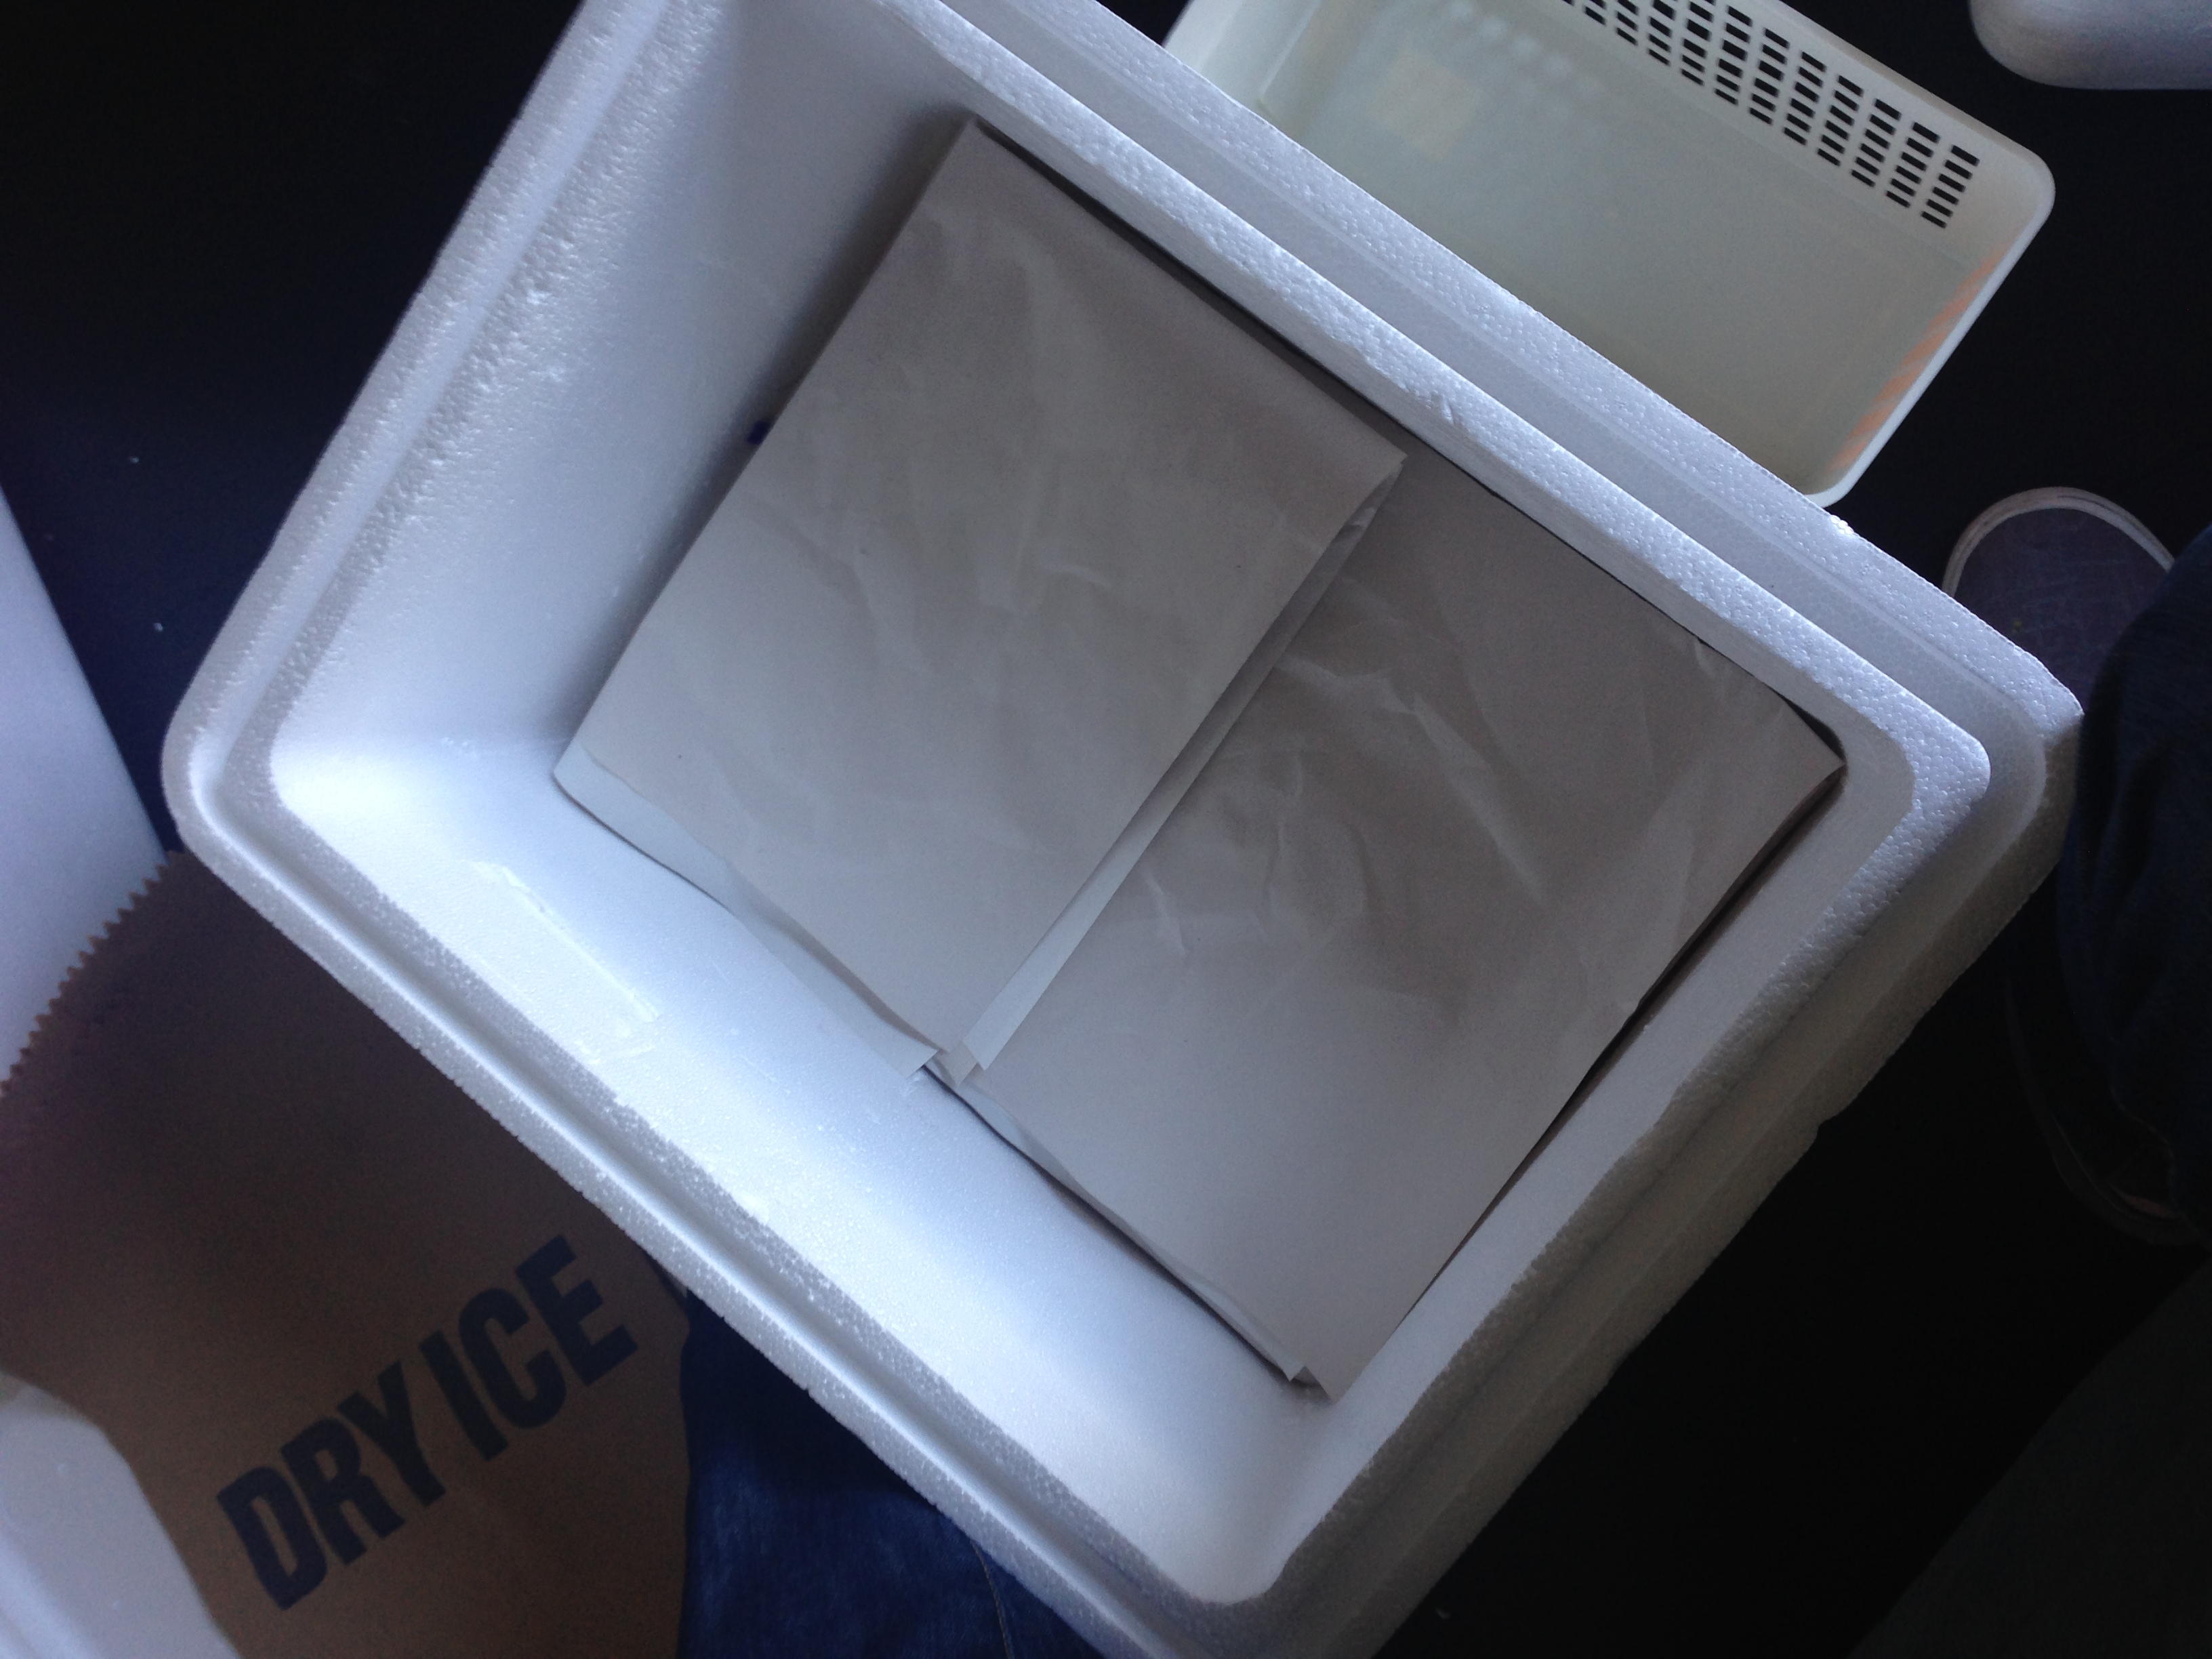
Step 4: Add a layer of insulation. You can use just about anything — towels, cardboard, newspapers, etc. Since I was already in the process of packing and had extra packing paper lying around, I used those. Voila!
Step 5: Add another layer of frozen breast milk just like you did the first layer. Fill any empty air space with the insulating material. Like so!

Step 6: Now that your breast milk is packed, it’s time to get it primed for the dry ice. But first, protect your precious milk with some more insulating material. I used several layers of kitchen towels.

Step 7: It’s time for the dry ice! (Cue techno music: untz untz untz). Using protective gloves or oven mits, CAREFULLY place the blocks of dry ice and then sprinkle a generous amount of the pellets to fill any openings. Seriously, dry ice is no joke – take the proper precautions, people!
 Step 8: Fill up any air space with more insulating material. Close the box and don’t open it until you get to your destination!
 There you have it — with these steps, you can guarantee your breast milk will arrive to your destination still completely frozen! Hooray!
